Showing posts with label earrings. Show all posts

Wednesday, February 22, 2012

Whim and Whimsy

I've always been attracted to do-it-yourself (DIY) projects, minus the ones including sewing (I seem to have issues with sewing machines and needle/thread). Knitting and crocheting shrugs, shawls and sweaters. But the accessories that always compels me are articles of jewelry, whether rings, earrings or pendants.

Etsy is always an amazing source of inspiration, and recently Pinterest has been a good venue for seeing what has captured other people's interest. Beading and wirework have always been popular but recently the newest crave in handmade jewelry includes a combination of the two as well as traditional Peruvian thread art and scientific/artistic/historical influences.

The first of the batch are bird's nest wire wrapped beads which can be used for pendants or earrings. I used 3 beads of different colors as my eggs and made "matching" pieces for earrings.
The Bird Nest Necklace tutorial can be found here.

Next up are DNA helix earrings made of seed beads and bugle beads interspersed on headpins and then twisted.
I saw these on etsy but couldn't justify spending $20+ not including shipping for something I could easily make myself.

At the same time, I had a plethora of seed beads and decided to make a few baubles which could be used when I felt the need to wear something different and boost my mood.

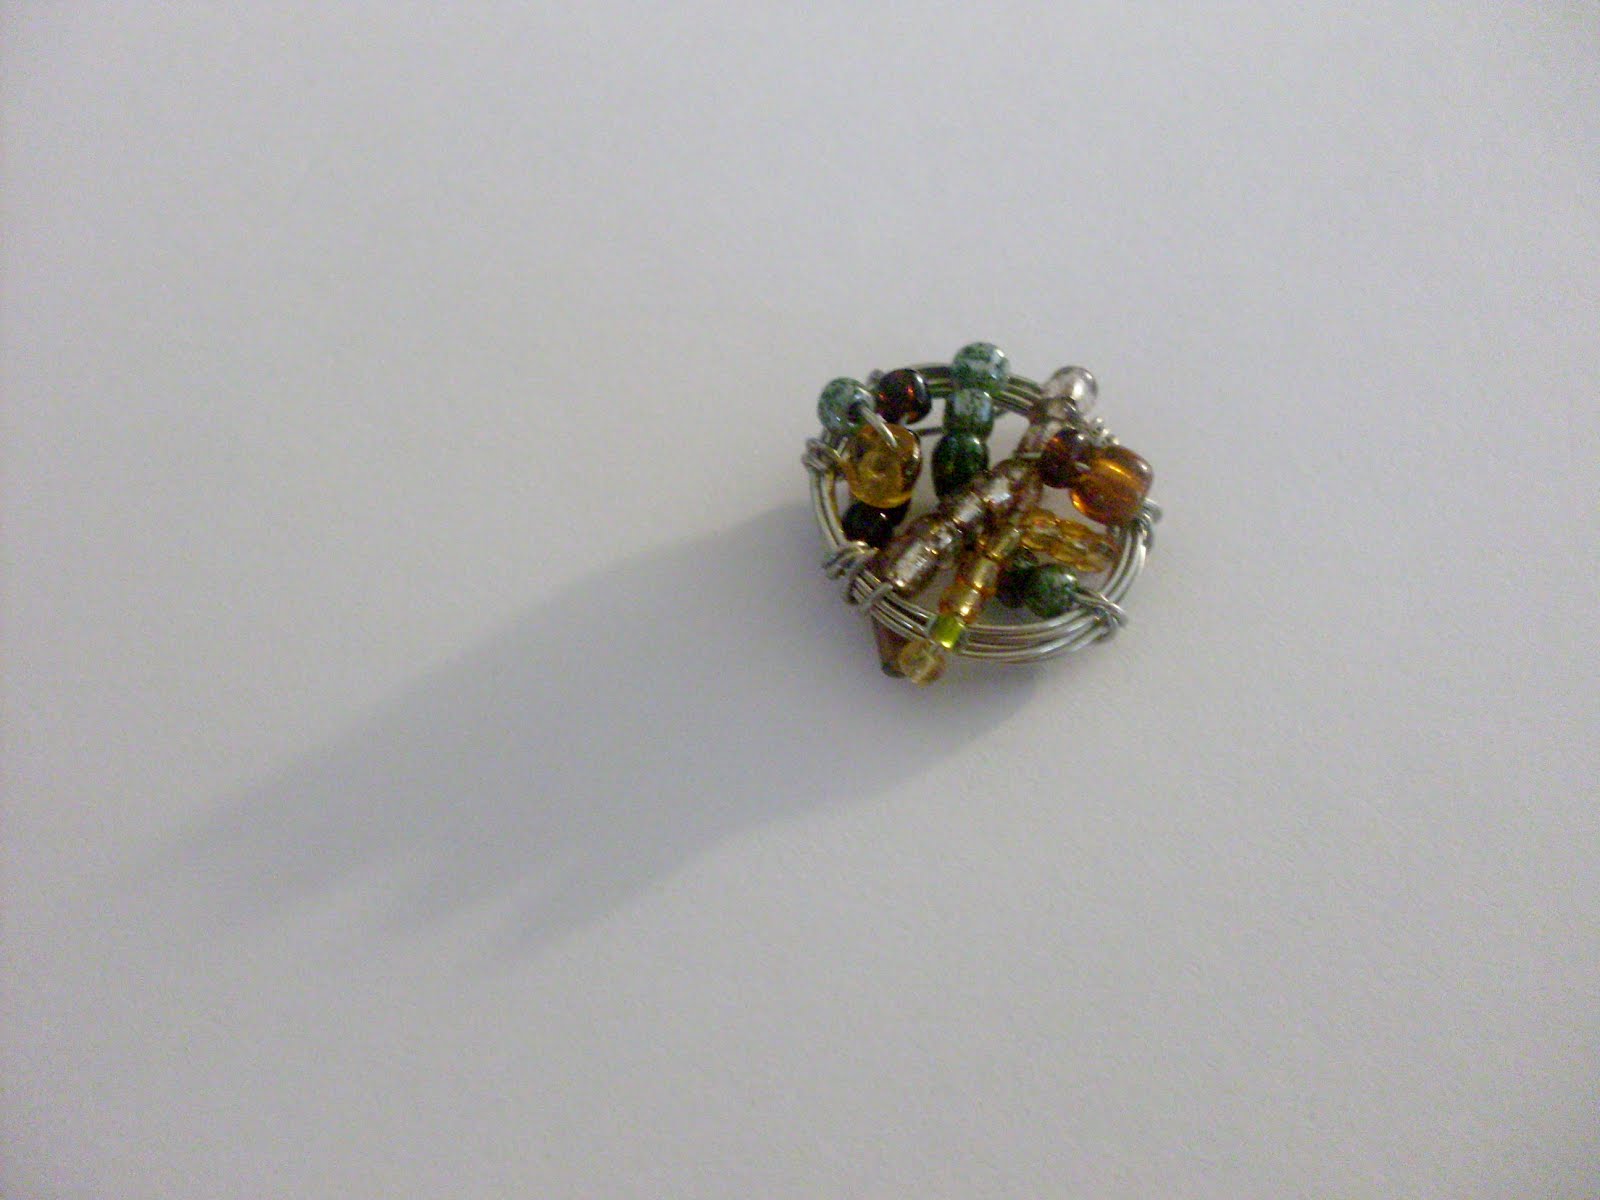
Along the same lines of the bird's nest pendant, I created a wire nest and strung beads onto the wire and wrapped it around the "nest."You could add this onto a plain ring or string it on a chain.
Since we're on an island, I love incorporating sea glass and shells into my jewelry to remember things by.
Wandering around the interwebs, I found some Peruvian thread art earrings and googled a tutorial.
The basic concept is the same, involving wire coils and thread of multiple colors.
They can be tear-shaped and made into earrings or pendants.
Or even circular.

Wire-wrapping can be easy with the right tools, or just a good way to express yourself without worrying about how clean a wrap turns out as long as the overall piece is something you like. From the thread art earrings, a link showed me a blog with multiple pieces of wire-wrapped bead work creating animals and zodiac signs. Since Sagittarius seemed the most feasible, I concocted a more basic version of the bow and arrow the hunter uses.

Wednesday, July 28, 2010

Lucky Star Origami Earrings

Lucky Star Origami Earrings


I love these little earrings. After seeing them on Etsy, I couldn't pass up the opportunity to make a few of my own, especially since I have tons of stars lying around. The blue ones I couldn't resist since the design is for the star sign, Sagittarius. The purple ones are little pandas and the pink ones are of a little girl in different costumes.

They're quite easy and with a little practice, are quickly produced. For the knitterly inclined, instead of attaching to earring wires, the stars could be placed on jump rings in needle appropriate sizes for stitch markers. =)

Materials

Size 6/0 seed beads in two colors
Origami Lucky Stars
Earring Wires
Head Pins
Nail Polish/Modge Podge or some sort of decoupage medium
Ceramic Cleaning tool or something sharp
Round Nose Pliers
Chain Nose Pliers
Side Cutter


1) Use the triangular blade of the ceramic cleaning tool to poke a hole in the bottom of the lucky stars.


Poking a hole


Hole on the bottom of the star


2) Place a bead on a head pin.


3) Use the head pin to poke through the hole at the bottom of the star. The head pin should emerge at the point of the star opposite the hole. It may take a little maneuvering for the head pin for poke through the top.


4) Paint the stars with at least one layer of nail polish or decoupage medium, waiting for each layer to dry before applying a new layer. Depending on the paper, it may bleed. This step protects the stars from getting waterlogged, although showering with the earrings is not recommended.


The top coat I used. (I’ve never actually used it on my nails…)


5) String on more beads, or stars, as you like.

Alternated red and clear seed beads.


6) Take the side cutters and cut the head pin approximately 1 – 1.5 cm above the last bead/star. Excess can be trimmed accordingly.


7) Using the round nose pliers, take the head pin, making sure it is flush with the top of the pliers. Place the pin at the diameter of the final loop desired. Wrapping around the round nose pliers at different places will give different size loops.


8) Bend the head pin at the top of the bead/star to prevent them from moving up.


9) Begin making the loop by wrapping the head pin around the pliers. If it looks as if there is too much wire, take the side cutter and trim off the excess before continuing with making the loop.


Beginning of loop.


10) Finish the loop.


11) Open the newly formed loop using the chain nose pliers. Do not pull the loop open, just lift the loop to create a space.


A better tutorial of steps 6-11 is available athttp://www.firemountaingems.com/beading_howtos/beading_projects.asp?docid=691E


12) Attach the earring wire and close the loop.


Open loop with earring wire.


13) Finished earrings